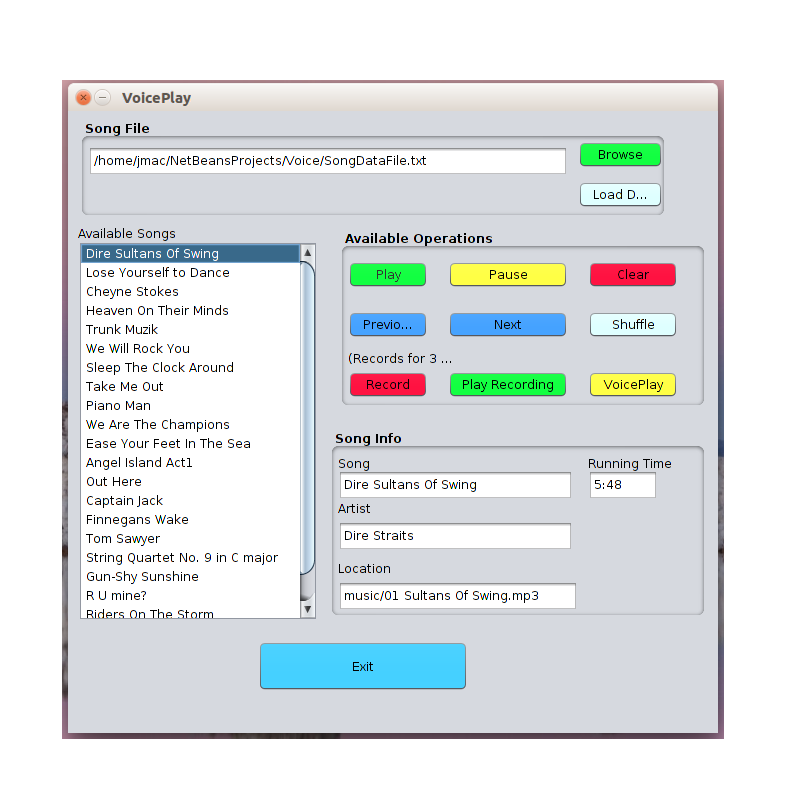
This guide will show you a quick introduction on using the JFrame tools in NetBeans to easily create a GUI for your java programs. NetBeans provides a user interface that allows you to very easily generate your GUI without having to hand code it yourself. This will organize your code and allows you to easily add logic and operations to your buttons, text fields, and more.
Begin by creating a new project in NetBeans. Inside the new project create a new JFrame Form. If you have ever worked with visual basic this may look familiar. You can now see that you have a canvas and an area on the right with all sorts of buttons, tables, boxes, etc. Simply drag over an element and place it on the canvas. Then you may right click and change it's name and text. You may notice at the top there is tabs for design and source to switch views. You can double click the element and it will take you into the source and you should see something similar to this code.
private void jButton1ActionPerformed(java.awt.event.ActionEvent evt) {

//code goes in here, for example

System.out.println("hello");

}
For every element you add, you can double click and it will take you to this ActionPerformed method. This makes it incredibly easily to add lots of elements to your java project and easily add logic to them. It also organizes your code for you. Now you can create great java projects with a full user interface, with minimal effort!
tags: Knowledge Base java gui tutorial netbeans

